Saturday, 20 September 2014

Something for the weekend

Just clearing up a few photos which I decided to show to the world.

First are three pictures from Titchwell RSPB reserve in Norfolk.

Titchwell is a reserve I know well having been there many times and I always manage to see something of interest. One disappointment was the Marsh harriers had decided not to visit on that day, but I did get close to Teals, Ruffs,  and Bar tailed Godwits.

As always I did not really have enough time to get the shot I wanted. Also I was slightly overawed by the equipment some some off the fellow photographers had. Some had 400mm and bigger lens with 2x converters on. My trusty 300mm was never going to compete with that.

However I did get a few shots that could be buffed up a bit.

Avocet. Elegant bird. If you can't get a good shot of an Avocet, give up now

For a long time I said this was a Dunlin, which shows how bad I am at wader ID. It is of course a Bar tailed Godwit

A rough Ruff

I also had a afternoon around Bradgate deer park recently. Unfortunately I had mis-timed it and assumed it was the annual rut.

Instead of nice packed herds with battling stags, the deer were well spread. Despite being large animals, it is amazing how well the blend into the background.

However I did find this handsome fellow


He was next to a watering hole, obviously readying itself for the battle ahead. It was obviously one of the Alpha males and very impressive he was too.

Saturday, 13 September 2014

As in life, so in a game of hazard, skill will make something of the worst of throws

A year goes so fast! Again the nights are drawing in and we are swinging towards the days when photographers start thinking about exhibitions and competitions.

This is the first full year I have been a member of a photographic society and I am still getting used to the rhythm of months of little contact with fellow photographers, followed by a great orgy of meeting and comparisons of your years work.

Today is the start of that cycle, with the society taking part in the Melbourne Art festival and opening its doors to the huddled masses and showing the members work to all who enter.

As usual, the day came quicker than I was expecting and I ended up panicking about what of the years produce I would contribute. The choosing of those to be displayed on the projector was relatively painless since they could hide among the many others. However what to print proved more difficult.

Before I joined the society I had never thought about producing photographic prints, relying on electronic media and websites to disseminate my work. However I now realise that prints are probably the ultimate expression of the photographers craft. Not only is there a cost element, meaning that you are more careful of which are chosen, but they are displayed next to other photographers allowing direct comparison in a way electronic images cannot. They are also your direct advertising of your skill and if it is your want, your product and livelihood.

Prints also meant I had to learn the art of photo mounting. In the past I have left this to the chair of the society (with any profits going to the society ), but I felt I wanted more control over the process so I had a go myself. This may sound easy, but cutting card with the correct bevel turned out to be a hit and miss affair, even with a bevel cutter. Also there is a lot I need to learn in this process such as how the colour of card affects the viewing of the print, the optimum sizes for the mount, and the use of borders.

There is also the issue that some photos are better suited to DPI than print. Also the printing itself can change the image. I sent 5 images of to be printed (I use an external company to do the printing, because for the amount I do it is generally more cost effective) and while 4 came back OK, the 5th had a green tinge which I had not seen on the original image. The question is then, was it the image or the printing process that caused that? It is easy to blame yourself, but with any industrial process there can always be mistakes. The other possibility is that images just need to be manipulated differently for the best results in print. hopefully as I print more, I will learn these lessons.

Anyway I chose my photos, mounted them the best I could and went to help set up the exhibition. This is the first time this season that we got to compare each other work. Of course the hope is that your years work will stack up well against others. As I watched the other images being put up my usual despondency hit me as I realised that I had not moved forward as much as I had hoped.

Of course it is easy to be hypercritical of your own work compared to others, and unless you are a complete egotist, you can always see the faults that others cannot. Also of course you have to be realistic that some of the photographers have access to locations and equipment that you can only dream about. For example, one of the photographers I greatly admire in the club, Simon Pearce, had photos taken of Elephants and Zebras in Africa. In comparison photos of a Robin, however well done, are always going to suffer in comparison.

Anyway the purpose of this blog is to show that photography is not only about equipment and location, but skill and passion. Even saying that,  I have to admit a twinge of jealousy and a bit of 'if only' when I see those photos.

Much more than access to  equipment and locations, I wish I had the time to practice my art. Recently the weather has been glorious for photography, especially in the morning with low mists in the valleys around here. Also the yearly deer rut is building up in Bradgate park offering great opportunities for those willing to get up early and take advantage of the opportunities of an accessible golden hour.

So how many photos have I taken in these optimum conditions? Exactly none. While work and family commitments form part of the blame, I must admit getting up at 5 in the morning, to travel and stand around in the cold at a deer park for 3 or 4 hours, in the hope of getting a decent image, loses its appeal when wrapped up in a duvet.

I do wish however that I could spend more time getting that optimum photo, rather than snatching images when and if the opportunities allow.

Anyway if you are going to Melbourne art festival. Please pop round and have a look. Also talk to the members, they are very welcoming and passionate about their work(even the Nikon users :) )

And if you see a sad group of images in the corner, do not judge them too harshly. While they are not the best that can be achieved, they are all, like all the others, done with passion and the best of intentions.

The 4 that made it to print...


And the one that didn't due to printing issues

Is it me, or was it the printing? The print was far more yellow than this one


Tuesday, 9 September 2014

Trials, Tribulations and flowers

The preparation 


When it comes to photography, I am a self-diagnosed masochist because when ever I am asked to take photo's by someone,  I instantly say yes.

It is only once I have committed myself that I start thinking about what I have actually let myself in for.

So it was when my Father-in-law asked if I was interested in taking some photos of the flower festival at his local church. I had previously taken photo's for a wedding dress festival at the same church  and subsequently put them together in a DVD that was sold for church funds, so must admit I was a bit chuffed to be asked again

However compared to wedding dress festival, a  flower festival would be a totally different type of gig. It was only once I had accepted that I started thinking about what I had let myself in for. For starters, I have no experience in taking of pictures of flowers. Still life photography is not an area that I have done much work in.

However in photography (as with many things in life), the knowledge gained in one area can be usefully applied to others and it promised the opportunity to practice a number of techniques, including framing, composition and the application of color theory, and also all the post-processing techniques required to get the best results

I realised however that my first issue would be the location itself. If I had been taking flower photo's at home, then I would have maximum control over things like lighting, the background and the position of the plants. However since these flowers were to be in a public place,  it would mean I would have little control over any of those factors. Another complication would be that I would need to work around the people who had come to actually see the flowers.

As is my habit, I started by looking on the web for inspiration. Unfortunately while there is plenty of advice on taking photos of flowers, there is little practical advice on the taking pictures of flower arrangements.

One thing was apparent however and that is that flowers looked best under natural light. Getting enough natural light however was likely to be a problem. I could not be sure of of the kind of light I would find in the church or how much. It was obvious though that a tripod would be essential to ensure that the photos were taken with the kind of  ISO level that would maximise detail and a decent depth of field, while at the same time reducing noise to a minimum. However setting up and using a tripod while people were looking at the flowers would be challenging.

My first idea was to take flowers images against a plain background, such as black or white card. The ideal scenario would be to use a large backdrop, with two or 3 bright lights to control the shadows. Then it would just be the case of rotating the arrangement to its best position before taking the shot.

Instantly I could see some issues with this scenario. First was the lack of any kind of large backdrop or lights. This however was a minor issue, since I severely doubted whether the organizers would be happy for me to set-up a portable photographic studio in their church and move their careful coiffured displays on to it. I would therefore be limited to whatever background existed already or whether I could position some card behind the flowers on the day.

With this in mind I tried some practice shots. I bought some flowers and to use them as test subjects ( much to the disgust of the wife who assumed they were for her) . I got some large black card and I made my own screen backdrop which I hoped could be dropped behind the arrangements on the day.

My home made backdrop

With natural light and a bit of enhancing in Photoshop (largely darkening of the black background) I got some nice results. I therefore bought a selection of other card and even got some wallpaper samples (This was achieved by ripping of pieces at the local DIY store on the pretext I was taking samples home to decide which was to go on the walls.)

The results of the photo against the home made backdrop(plus a bit of Photoshop trickery)

So cometh the day


On the day I loaded the car up with  all the things I thought I would need, such as paper, backdrops, and camera equipment. I also added everything else I could think of, such as clamps (for holding paper), scissors(for judicious pruning), a portable reflector for added illumination and a water spray for adding droplets onto the flowers. 

I also packed in my family, since it was clear this was not going to be a one person job. Daughter number 1 had volunteered to be my photo assistant for the day and do jobs such as hold card, take notes and tell me what I was doing wrong (She at that sort of age) 

I had also purchased a few other items that I thought may be of use. The first was a ring light, which is a light that can be attached to the front of the lens. I hoped this could be used  to control the shadows. Secondly I purchased  a set of macro extension tubes that hopefully would tallow me to get closer to the blooms. 

In the event however the ring light only arrived a couple of days before the shoot, so I had little time to play with it. The macros had not arrived by the day of the shoot so could not be used.(They actually arrived 2 weeks later, via a slow boat from China).

Barwell, I may have a problem


When I arrived the first thing I did was a reconnaissance of the flower festival and it was quickly evident that I had  a problem. 

Instead of the small displays that I had expected, I was faced huge flower dioramas, meters wide and tall. This was not at all what I had been expecting. It was clear that it would be next to impossible to capture the displays completely on one photo. Also there seemed little chance in positioning a neutral background behind the displays, due to their size and closeness to the walls.

Worse than this however was the lighting. In the main church it was adequate, but some of the displays in other parts of the church were so lit so poorly that I had trouble even seeing the flowers, never mind taking photos of them. 

But still I was there so I had to try and make the best of a poor situation.

The first thing I did was wonder around with the camera, lining up potential shots (but not take any shots at this point) to get some ideas and inspiration about what would and wouldn't work.

After a quick cup of tea I started setting up. Fortunately an hour before official closing it started getting quiet, so I could start taking photos without getting in peoples way but there was enough light to make it worth while. As there were over 25 displays, and with each one posing a different challenge, it was clear that we would be there some time. It also meant we had little time in order to set the photo up. As it was it took over one and half hours to complete the shoot.

As I expected, trying to get the whole display in one photo was generally pointless. So instead  we concentrated on small elements of the displays. One thing that became instantly obvious was that my tripod just wasn't up to the task. It's a pretty cheap affair, and doing fine adjustments was a challenging and frustrating, which is not great when you have to do it 25 times.

Our 1st attempt to place a neutral background behind the flowers was a unfortunately a disaster. When trying to place the background behind a display caused it to tip up onto the carpet. After that we were a lot more circumspect in where we tried using the background. 

The ring light in the end did not being much use apart from providing some extra illumination in the dimmest part of the church.. The light also produced an unpleasant green tinge which proved difficult to remove in post-processing.

The results


In the end however we did  manage to get shots of all the displays. Obviously some were better than others. 

The original intention was to sell them as individual prints. However when I loaded them on the computer, it seemed unlikely they were good enough to stand alone. However one possibility is to put them together as some sort of photo collage showing a number of displays in one photo.

Another option is to create a photo montage and stick it on a DVD. I have previous form for this, and I must admit I enjoy doing it. It also allows me to add some dynamism to an otherwise still photo (Zoom, panning etc) which distracts from the quality of the photos themselves.

For the firsy time I used Zoner Photo studio as my primary photo developing tool. This was something I got for free recently and had been sat on my PC for a while and generally ignored. Like any new software, it is always a toss up whether it is worth the effort to invest time in learning it or to stick with what you have. But what drove me to it was it's RAW support. 

I photo everything in RAW nowadays,but processing RAW images remains a problem. Photoshop CS2 does not support my Sony RAW format and the software Sony produces is not very good. It's slow, crashes often, and is not very full featured. For example you can set the white balance via selecting the gray point, but it will not tell you the temperature, so you cannot apply the same settings to other photos.

Zoner Photo on the other hand, builds on the adobe RAW processing engine that is used by the latest versions of Lightroom  and Photoshop. As a result is a far better RAW editor. Zoner Photo also comes with and JPG editor, however it's lack of layers support, means that here it is more limited than say Photoshop CS2

Anyway I got to use the program in anger for the first time and was quite impressed on the amount of control it gave me in the final image. So much so, I am revising whether I still need yet to buy Lightroom (Lightroom provides better layer support and also supports additional filters such as the Nik collection, so it is still on the to buy list.)

So what did I learn


The 1st lesson is to check carefully what you are being asked to take photo's of. I had prepared as much as possible, but most of the preparation proved useless , when faced with the realities.

The 2nd lesson is that I need a new tripod. A tripod is one of these piece equipment that you get what you pay for. My present one is just too unsteady and too hard to adjust for what the kind of photography I wish to engage in.  

A rose would smell as sweet


The 3rd lesson was that Zoner Photo studio is pretty powerful fully featured RAW editor for the price.

But did I learn lessons on how to take pictures of flower arrangements? 

Probably not. However I did learn some lessons on what will work and what doesn't. There is no doubt the final photo's could of been better, but were probably the best I could of done in the situation I faced. However the photos do grow on me every time I go back to them(pun intended)

I just hope my customers agree....

Wednesday, 3 September 2014

My latest toy


I wrote recently about my struggles to find a camera that would satisfy both my and my wife's demands .

To recap, I wanted a compact with a fast lens, good low light sensors and plenty of control. My wife wanted one which was basically a point and shoot. One thing we did agree on though, was that it should not cost the earth.

After much pondering, trawling of Amazon, wandering through camera shops, etc I finally made my choice.

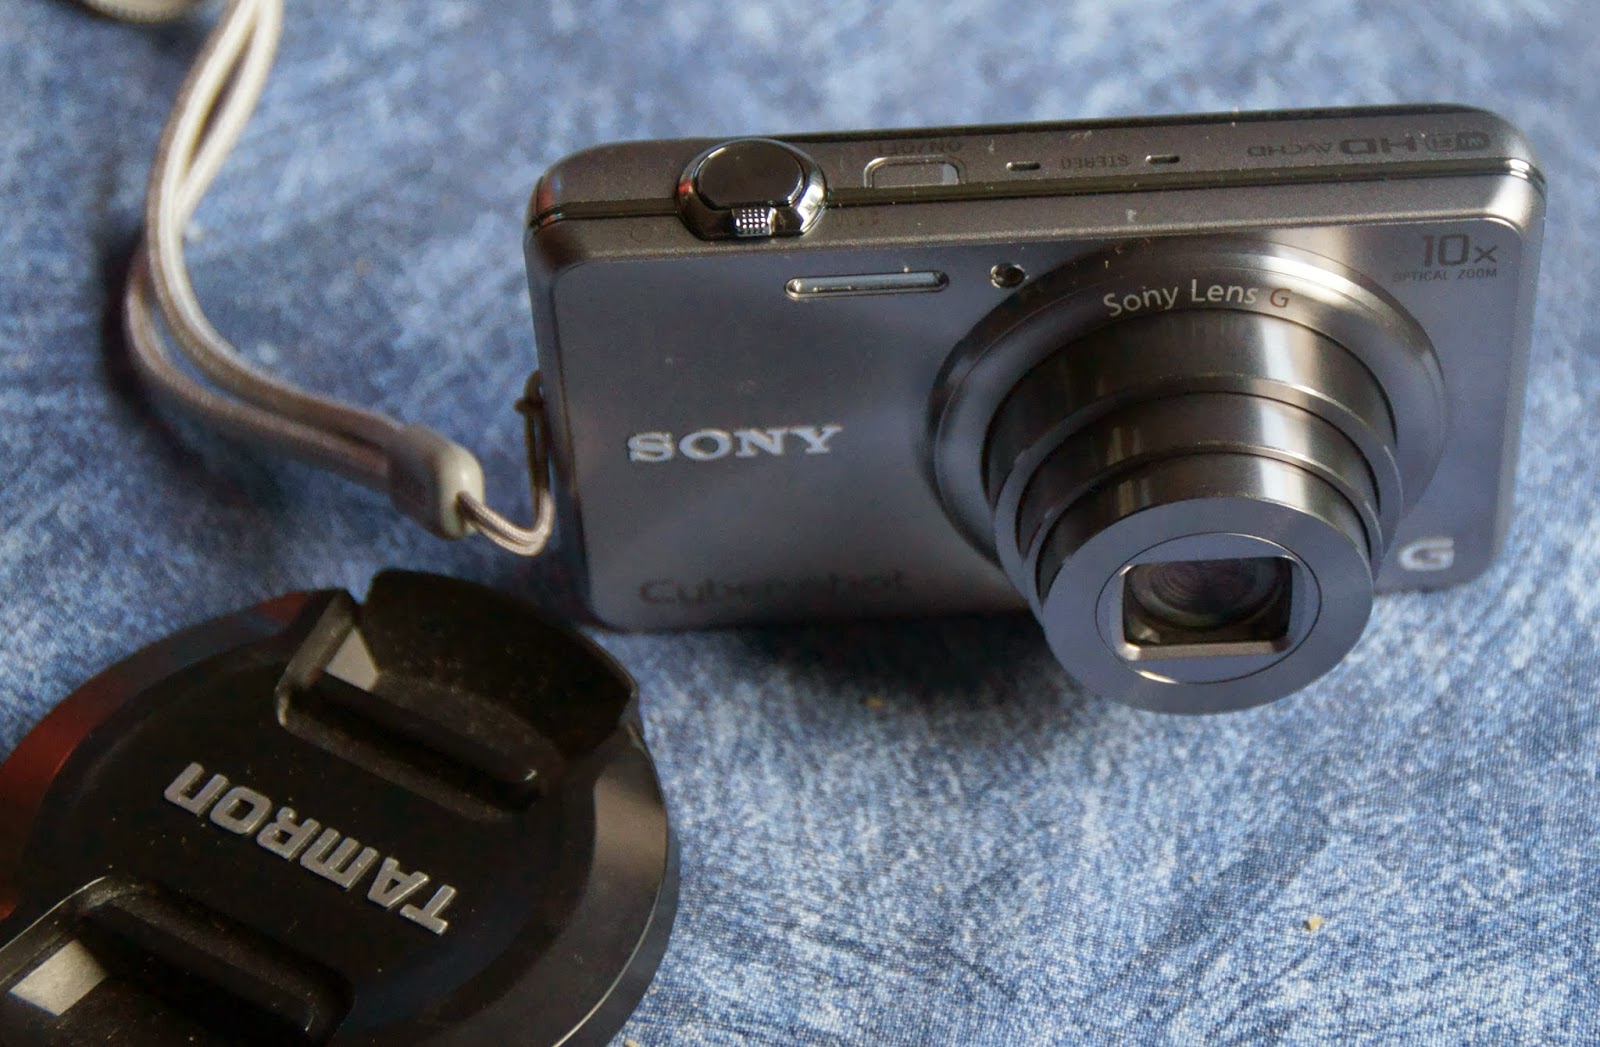
So this blog is to formally announce a new addition to my camera family of the  Sony DSCWX200.

The camera

You may well ask "Why this model". Well to be honest it wasn't my 1st choice(or 2nd, 3rd or 4th).

Choice No. 1 would probably have been one of the Sony RX100 range (maybe its only me, but Sony at present are looking the most innovate of all the mainstream camera companies), but it's price, for what would basically be an occasional use camera, was just too much. Anyway it hardly meets the concept of a simple point and shoot camera.

The Panasonic LX7 was also a contender with it's fast F1.4 lens (plus I love the control mechanism using the lens ring), but again price was against it.

I was really tempted by the  Olympus STYLUS XZ-10 with its 1.8 maximum aperture lens. Also it's has been severely discounted in recent months making it's cost well within my price range.

So why didn't I buy it?

The 1st problem was the level of discount. I like a bargain as much as anyone, but sometimes things can look just too good. My general rule is that if a deal looks too good, it usually is (Another good rule is never buy from a cold caller). In this case I needed to work out why it had been discounted by so much.

From user reviews it was apparent, that while in itself it is a decent camera; you had to work the non-auto functions hard to get decent results. Personally I would of been fine with that, but this went against my wife's needs and since it would be she who would primarily be using it, I sadly decided not to risk it.

The end result was that I had run out of options. After trawling through Amazon and the alphabet soup that cameras seemed to be named nowadays,  I decided to go back to basics and work out what were the must have features.

Obviously price was a big factor, but I also felt reasonable low light capability was a must. This in turn pointed to cameras using a back illuminated CMOS sensor. Not many cameras at my price range(£100) seemed to have these, but eventually I stumbled on the Sony camera.

It had the right level of functionality and the right type of sensor. Also Sony have a good reputation for compacts. On the downside the lens was not as fast as I wanted (a maximum F3.3), but at my price point there was always going to be compromises, and good glass seems to be the 1st thing camera manufacturers economise on.

So since my wedding anniversary was looming, this seemed the perfect time for a new present for my wife.


The review

So now I have had the camera for a few days, what are my impressions?

Firstly I was surprised how small it was. Maybe it is because I am so used to dragging around a DSLR, but it feels positively diminutive in my hands. Build quality is good, especially when compared to Nikon's coolpix range, which in comparison look like they were designed for a kindergarten.

The Camera in my hand(Note my hands are average size)

Camera next to a 55mm lens cap

When you turn it on, it does that sort of transformers trick where a large lens seemingly unfolds itself from a seemingly too small a space .

This is one of the problems with such cameras. While they are off, they are easy to carry in a shirt pocket, etc. However once turned on and the lens is extended what do you do with them? They have no camera straps like bigger cameras and they are too bulky to fit in pockets. You are then left with the dilemma of carrying them around left on, or switching it off in the hope that the camera will restart quick enough if required.

So I found myself constantly switching the camera on and off again between use. While camera restart times are not terrible, there is definitely a lag between the lens extending and the camera being ready to take shots. As a result, it is not a camera which can be quickly brought into action,  as I found to my cost when trying to take a picture of a squirrel that had inadvertently strayed onto our path. Saying that, at least with a inbuilt lens you do not have to forever be hunting for lens caps as I do with my DSLR

In terms of the camera user interface, it is a typically Sony affair with a combined 4 way pad and rotary dial doing most of the heavy lifting. Sony has been slow in moving to touch screens for their cameras (which is strange considering their mobile phone heritage), and while I don't believe touch screens are always the answer, it is nice to have the touch to focus capability that you get on some Panasonic cameras and virtually all phones nowadays.

The screen itself is bright and the information display clear, although it is annoying that they could not have taken a note from their mobile division and fitted a harder screen with a grease resistant coating. As a result a screen protector will at some point need to be applied.

In terms of functions, it fulfills it's simple camera requirements by having a minimum of functionality. Similarly the manual is the usual Sony affair of conciseness combined with total lack of useful information.

The camera has a number of modes, but there is very little information on their differences and uses. For example the 1st two modes are intelligent auto and Superior Intelligent Auto , and there is absolutely no indication of the difference between the two (My Sony DSLR has the same modes, and again I have no idea of the differences between them or when I should use one or the other). Why Sony persists with offering both modes is beyond me. It is like having a car gear stick labelled normal and better.

There is also a Programme mode which promises the ability to manually change some settings. However these are limited to the ability to modify ISO, white balance and focus/aperture modes. There is no ability to change the aperture or shutter speed. A lock focus mode would of been useful too. But then again this is a beginners camera. There is however a method of tweaking the exposure compensation, but no histogram for you to judge it's effects.

The camera also provides a number of effects modes such as HDR, HDR B&W, toy, single color etc.
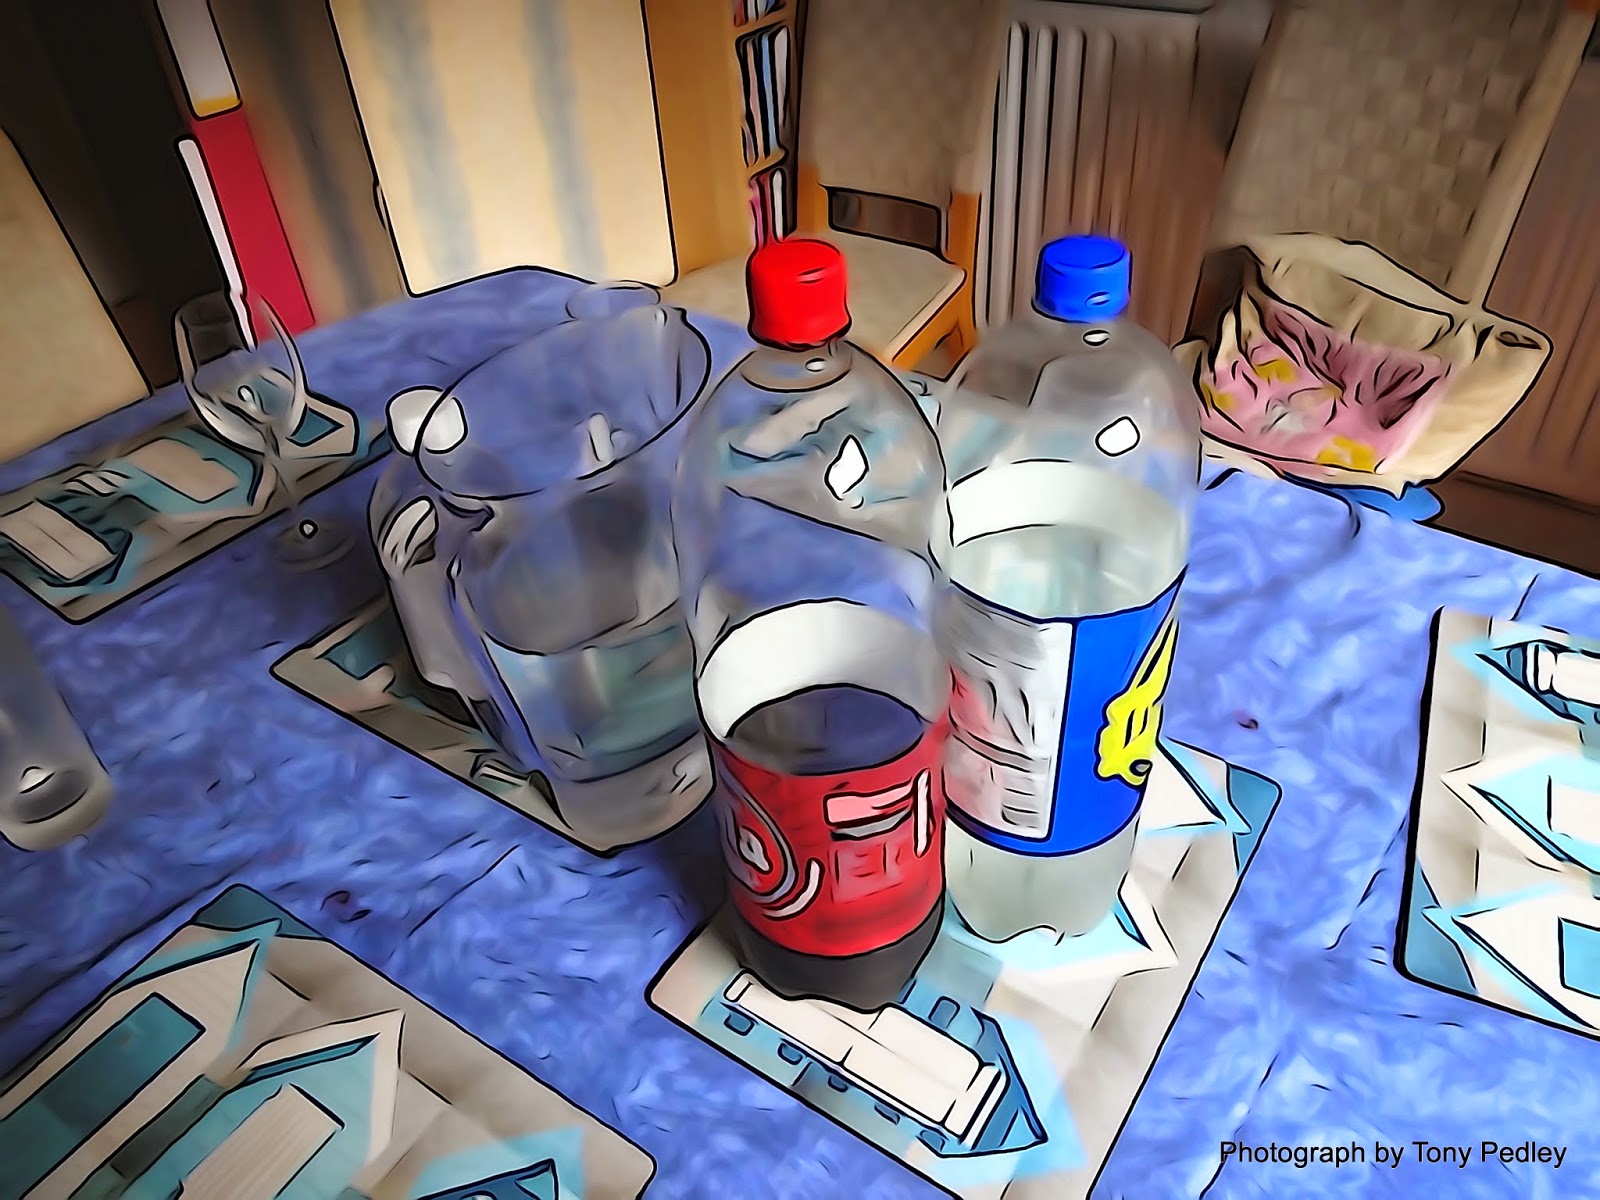
Illustration Mode. To be fair this was an interesting effect, but useful? Maybe not
HDR Mode

Now I know why camera manufacturers provide such modes.They are a low cost way of adding what at first glance seem useful functions. All they require are software tweaks and compared to, say adding a larger lens, this is a pretty cheap option (They are also almost exactly the same functions as provided on my DSLR, which hints to me that they use a common set of software algorithms.).

I do wonder however whether after the initial fun of playing about with them, whether they are actually ever used. Certainly on my Sony DSLR, HDR and B&W HDR are the only such functions I now use with any regularity. Anyway many of the modes can be re-created via any competent photo manipulation tool.

As an aside I wonder how long it will be until camera manufacturers start offering ways to extend their cameras through the use of apps. Samsung showed the way this could be done with there Android based camera, and Sony's high end A7 range cameras also now are starting provide this capability.  As someone who often loads camera apps onto his phone, it would be great if I could add such things like extra editing functions and camera modes.

The camera has a number of other modes including Panorama, a number of scene specific functions such as landscape, food, background blur etc. Sony has also persisted in including a 3D  mode despite no one ever using it.

It can also take video if that is your want(it's not mine generally). But if you do I am sure it will do a fine job

The camera also allows you to control it from a mobile phone or a tablet. Once the Sony app is downloaded you can connect to the camera and see what the camera sees, zoom, turn the flash on or off and take a photo.

I must admit this is a feature I've wanted for my DSLR for a long time since it would certainly make taking long exposure shots on a cold winter night a lot more fun if I could do it from the car. As it is I may try and see if I can use it to take candid bird shots, however I worry whether the lag between app and camera may be to much to be much use.

The Pictures


So much then for the functions, however the real proof of the pudding is the photos.

So how did it do?

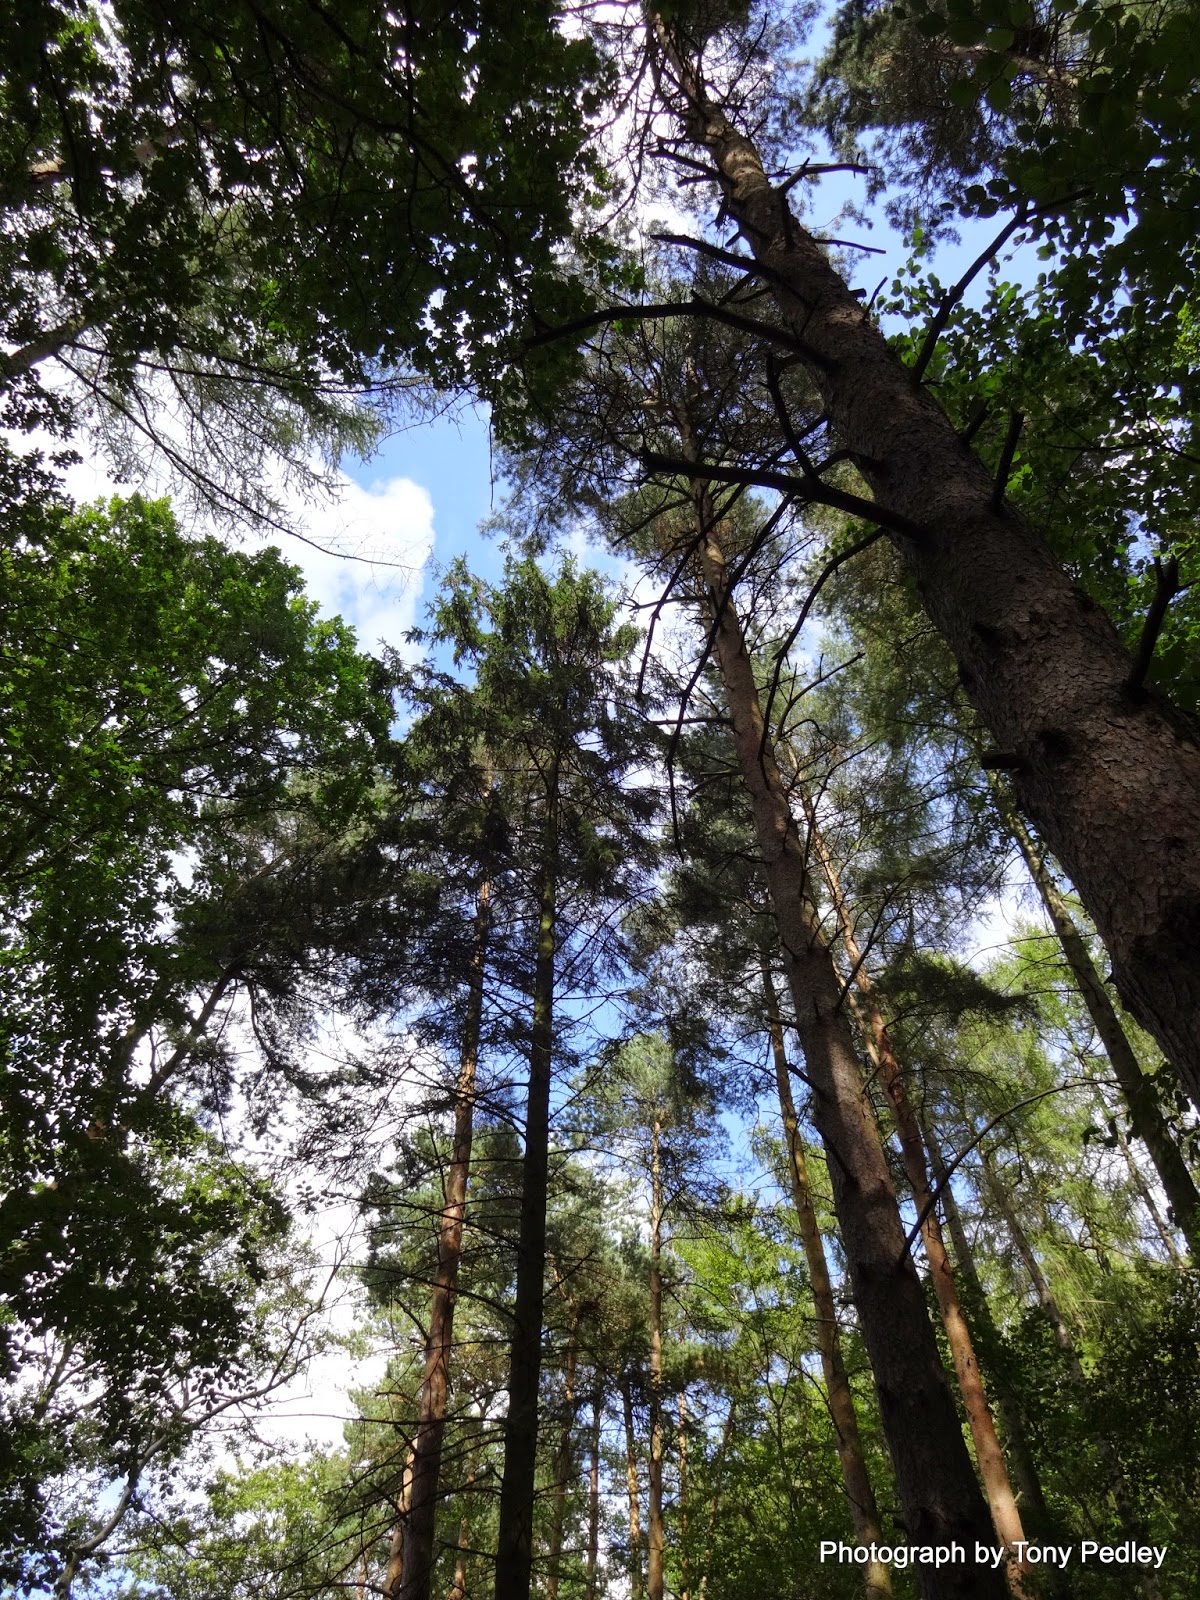
Well the initial results were promising. A walk round my local forest with my family gave some reasonable results, and I must admit I did feel a  sense of liberation in not to having the weight of a DSLR round my neck.

 However I struggled a number of times to get the shot I wanted and was itching to switch to some sort of  mode where I could grab some control, which only goes to shows how much having a DSLR has spoiled me.
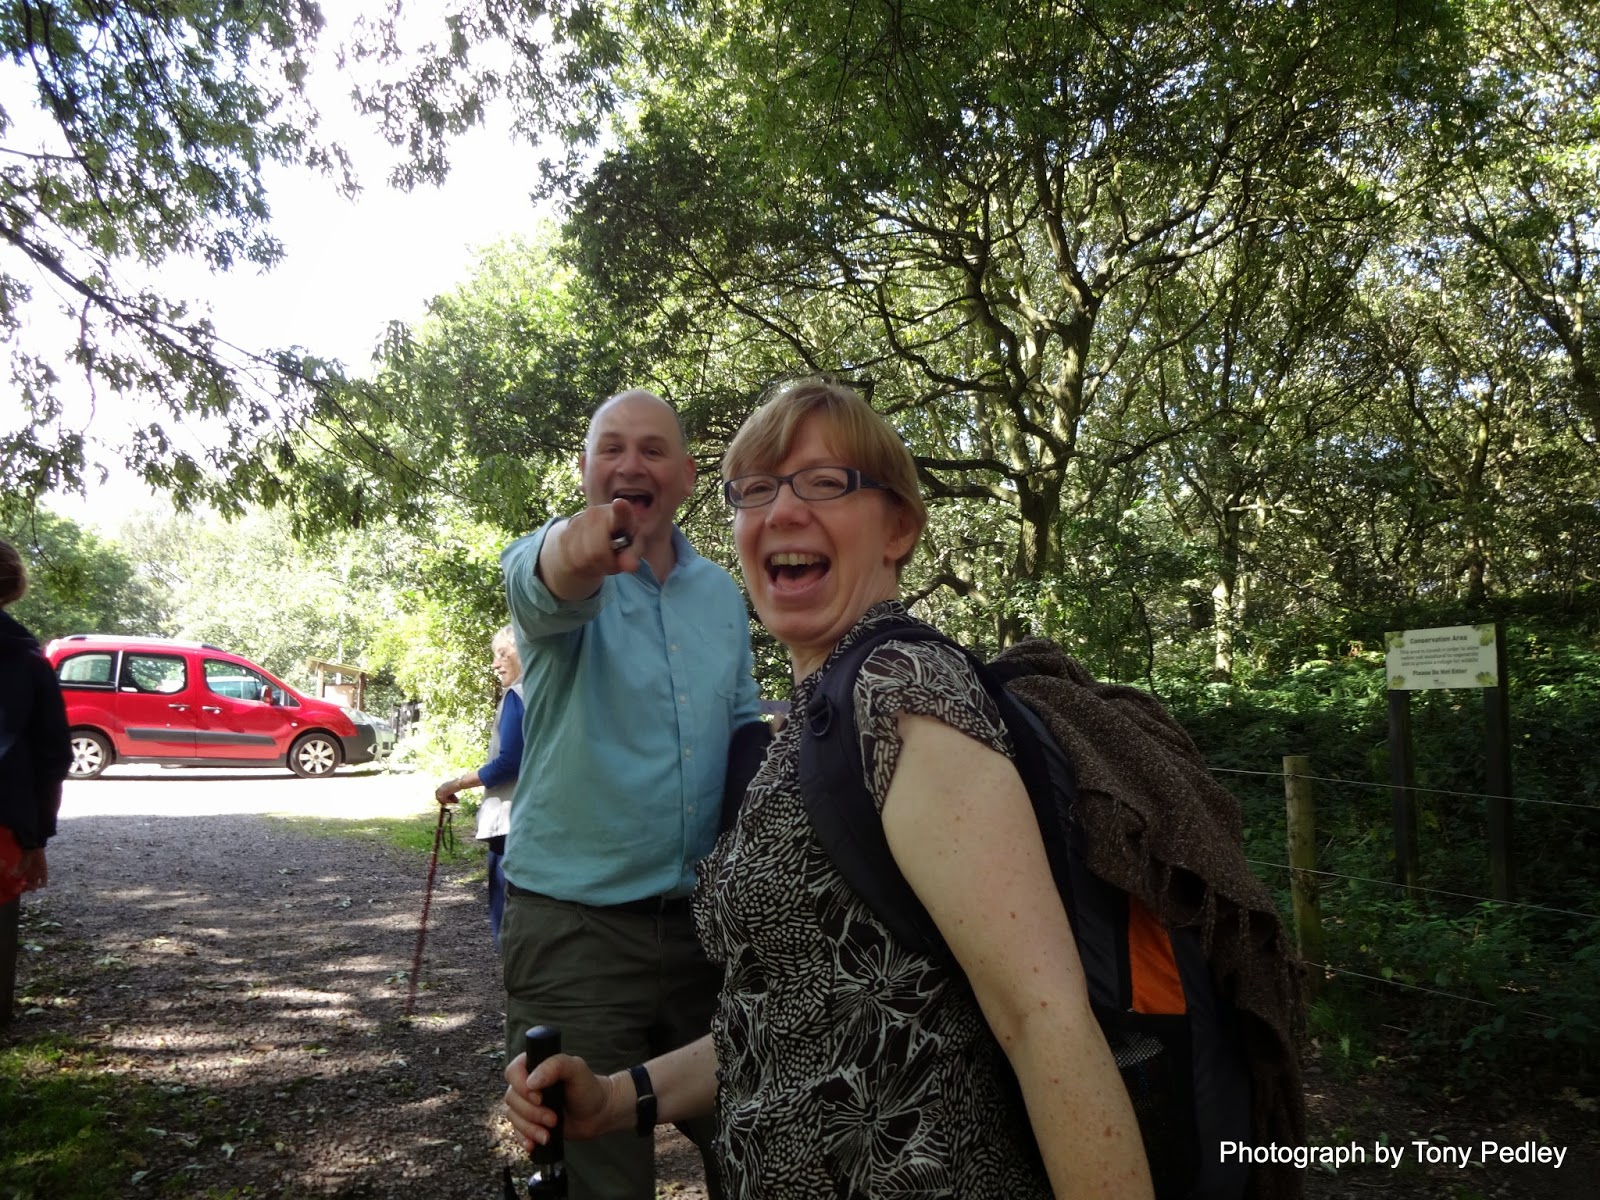

A snap shot. The exposure is nicely balanced and focus is good


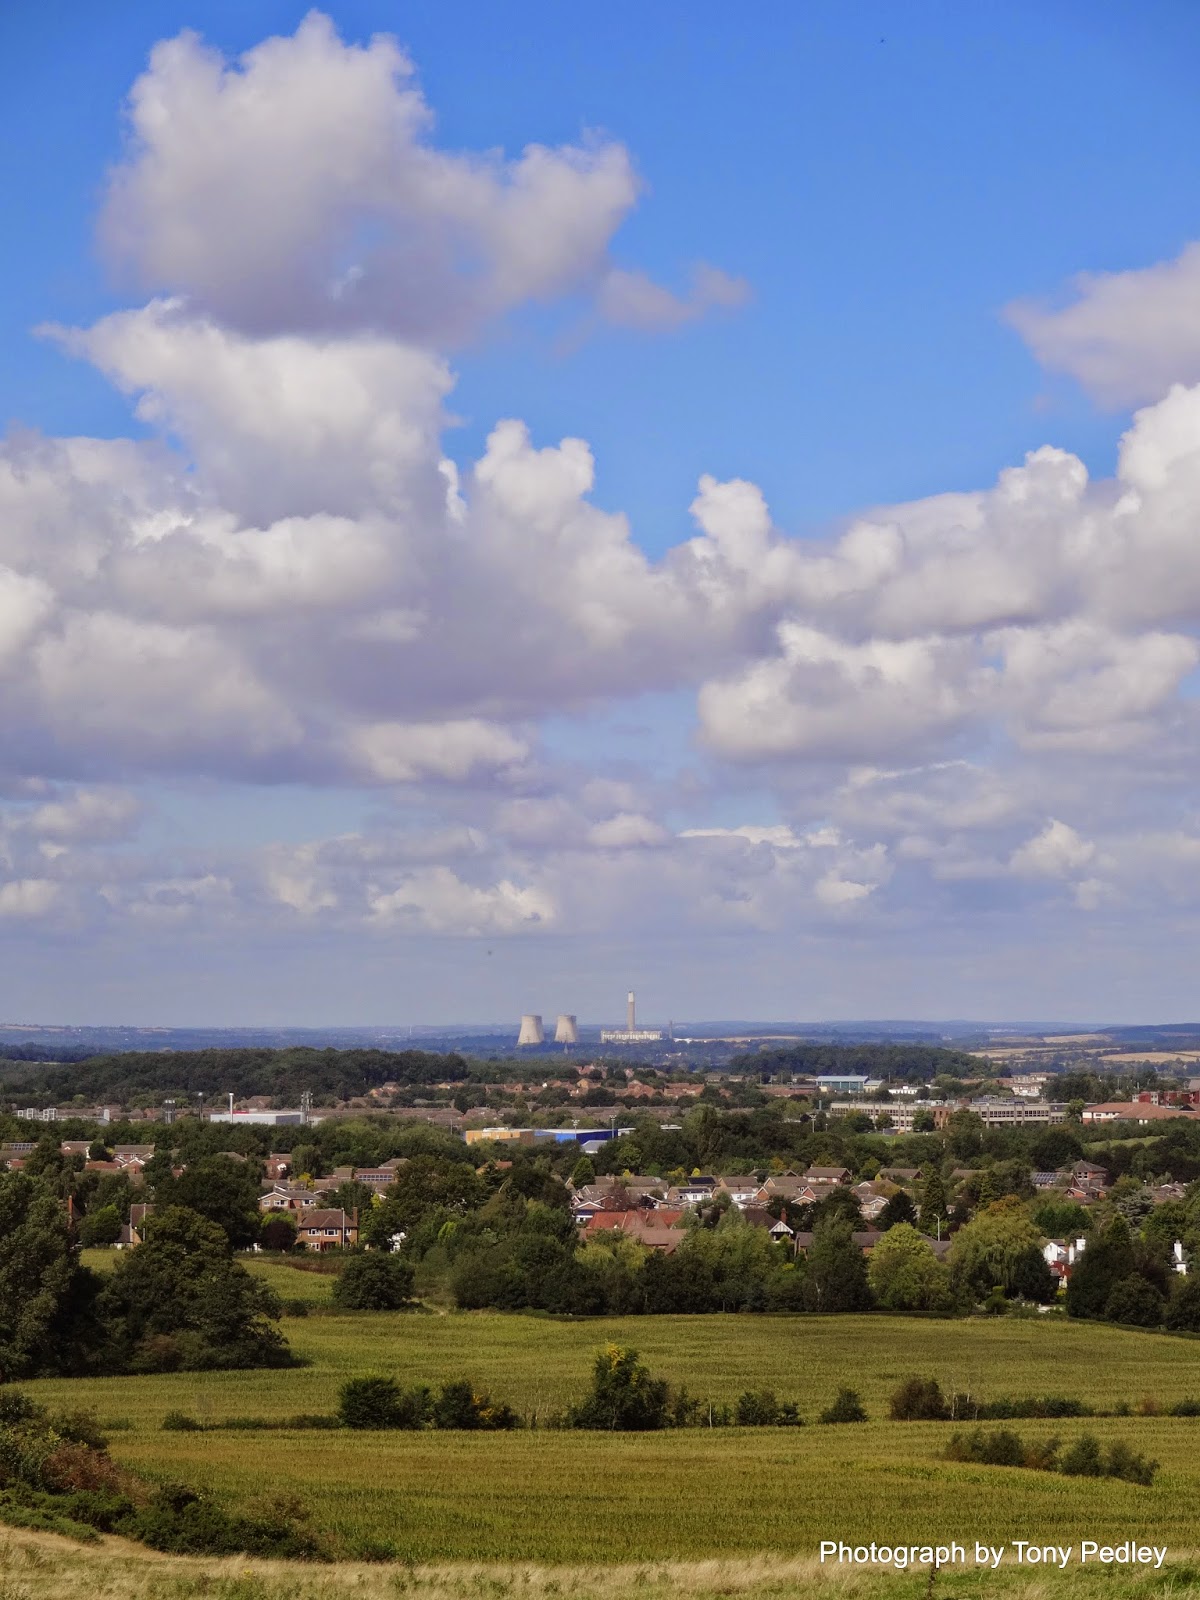
A landscape photo showing the distant cooling towers. Camera gave good exposure and was sharp 
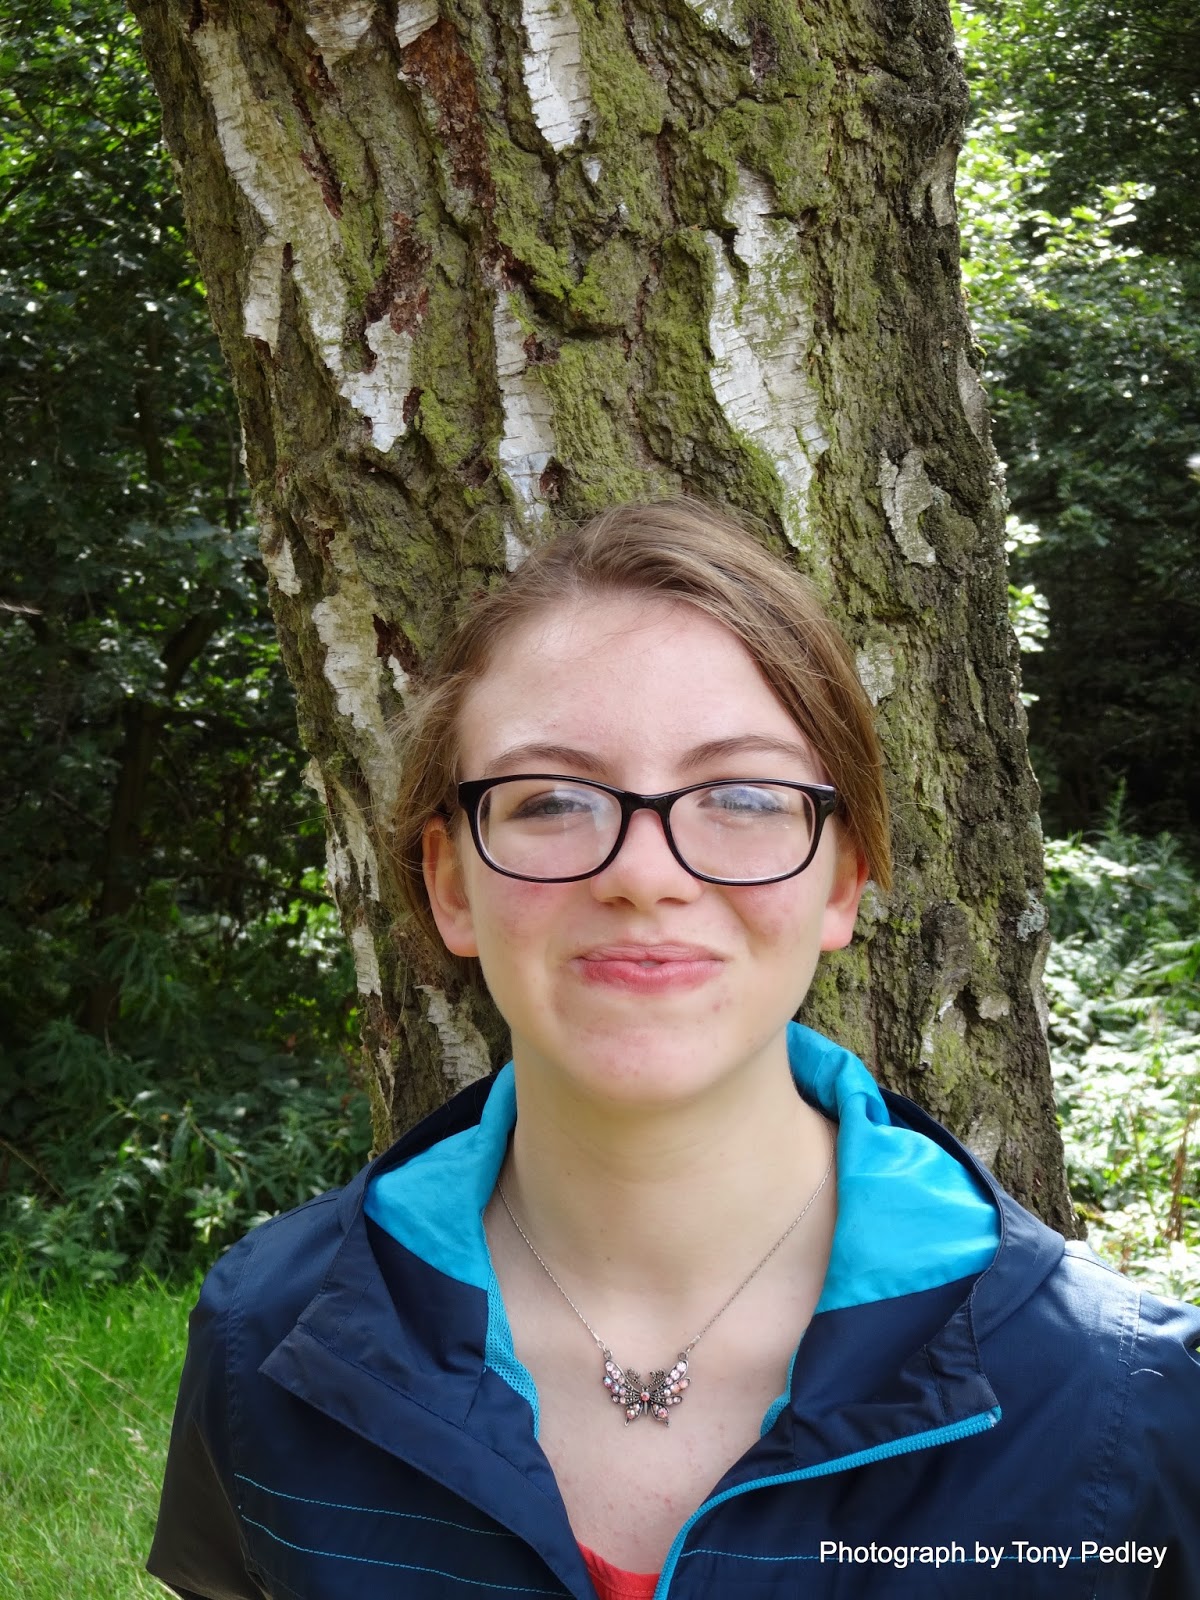
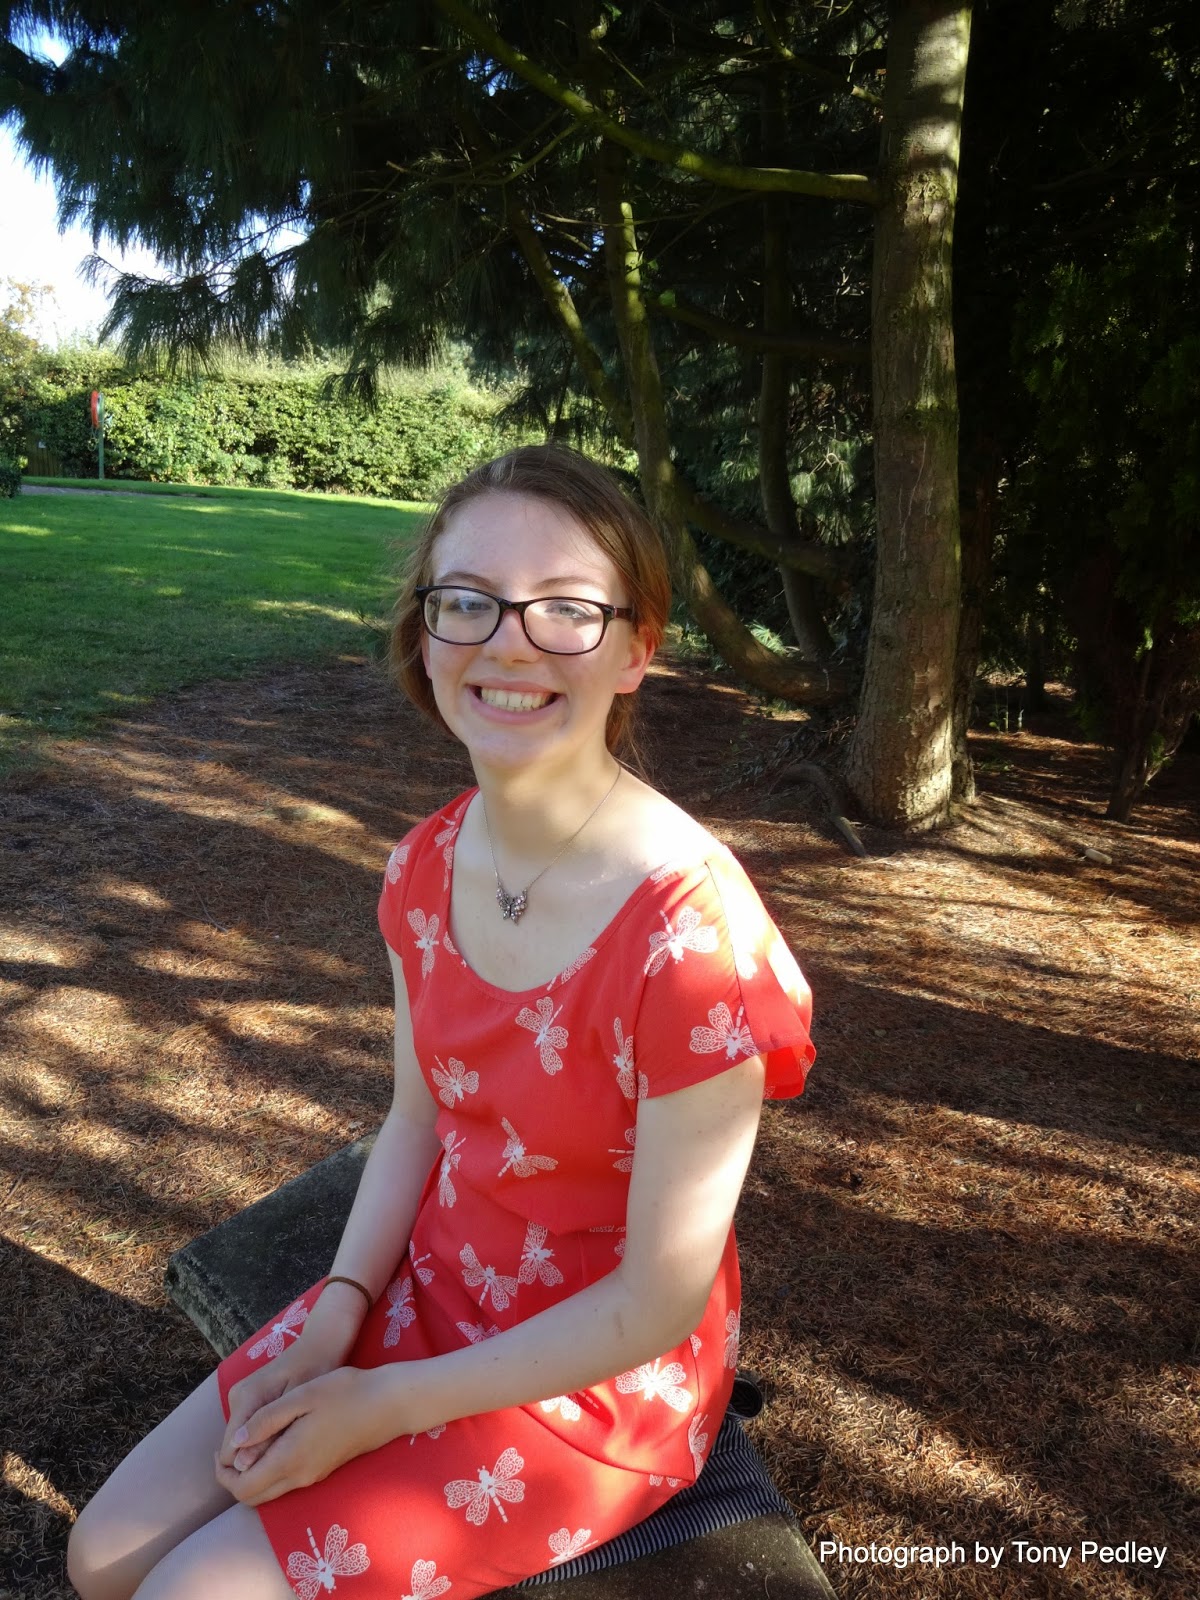
Skin tones come out pretty well as with this portrait shot


Again the exposure is about right against The sky


Camera coped pretty well in the dim forest


Again skin tones came out well 
However pictures at the high end of the zoom range definitely struggled in terms of shutter speed. I have never seen the point of pointing a large zoom on a small compact. This has a 10x zoom, but some advertise a 20x zoom. Personally I think 5x is as much as you can get away with in a camera this size.

The problem with combining a long zoom with a small aperture is that even with with image stabilization, any moving object will end up being blurred because the shutter speed will be so high.

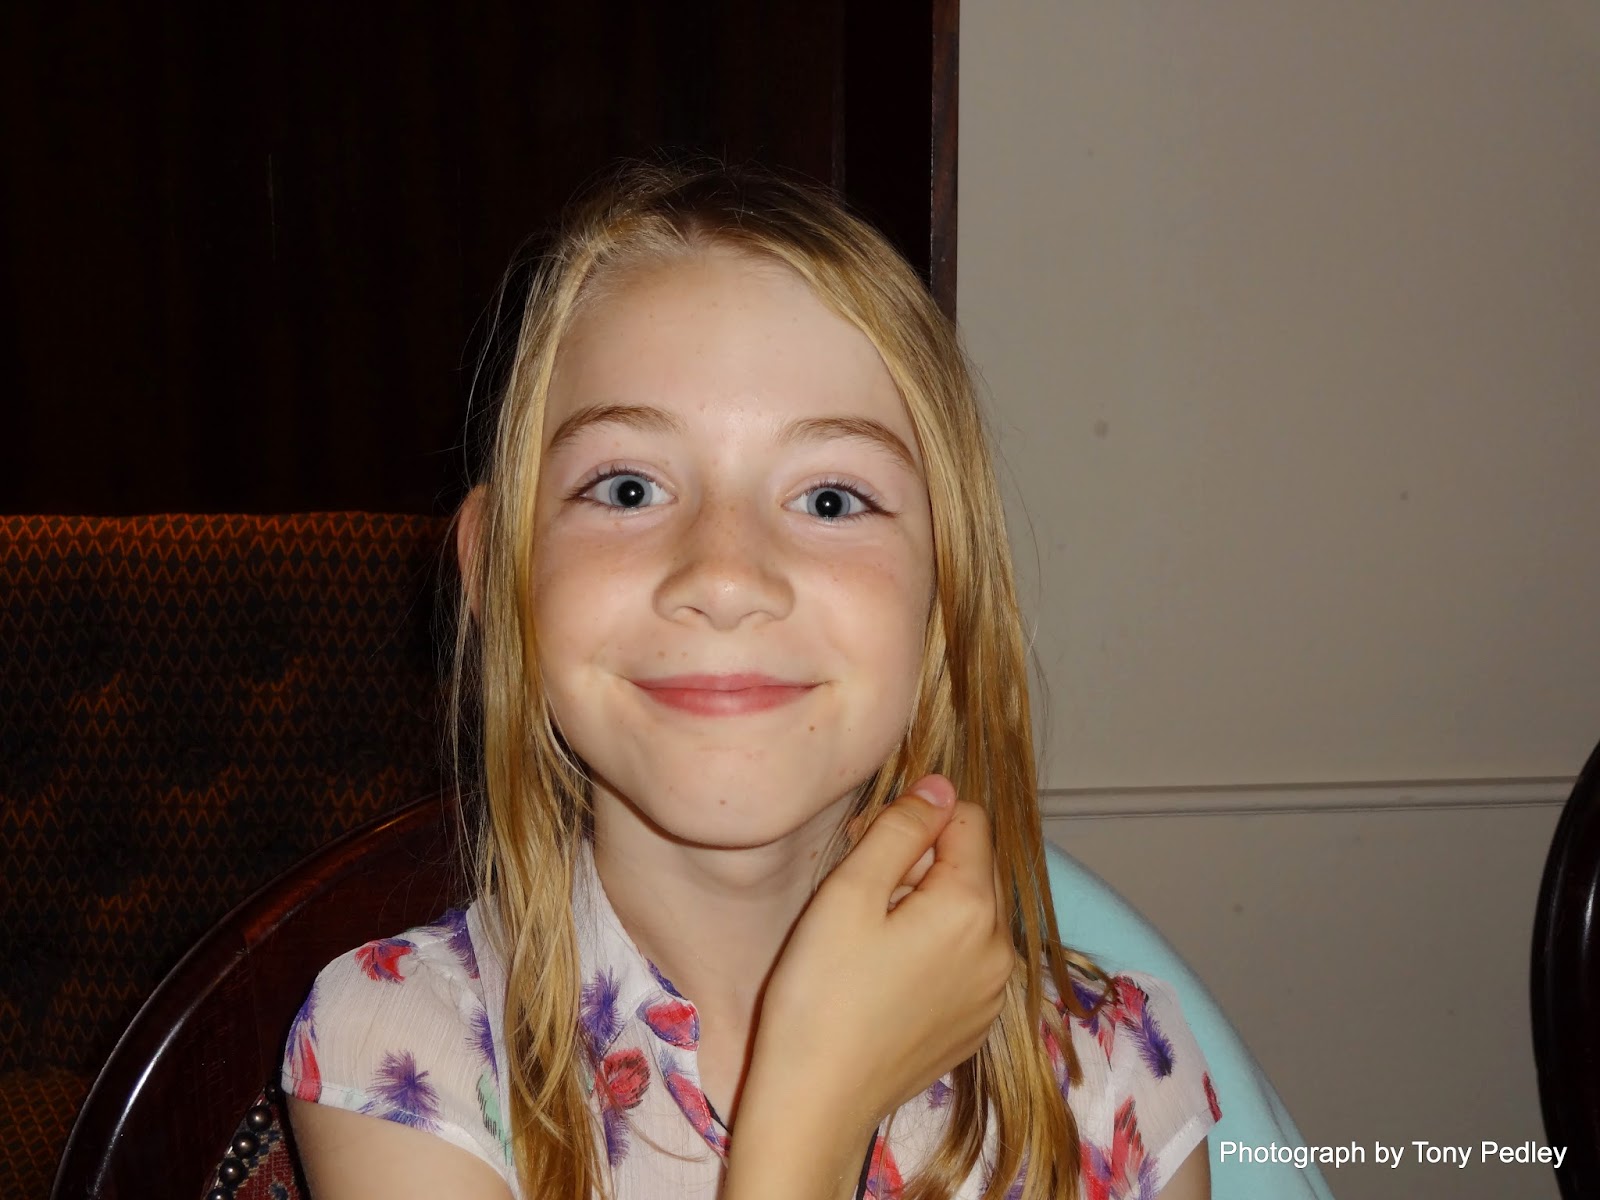
We then went to a local hotel for afternoon tea and this was a good place to try the low light capabilities. The 1st shots in the foyer were promising, but when we got in the dining room, things became more difficult.
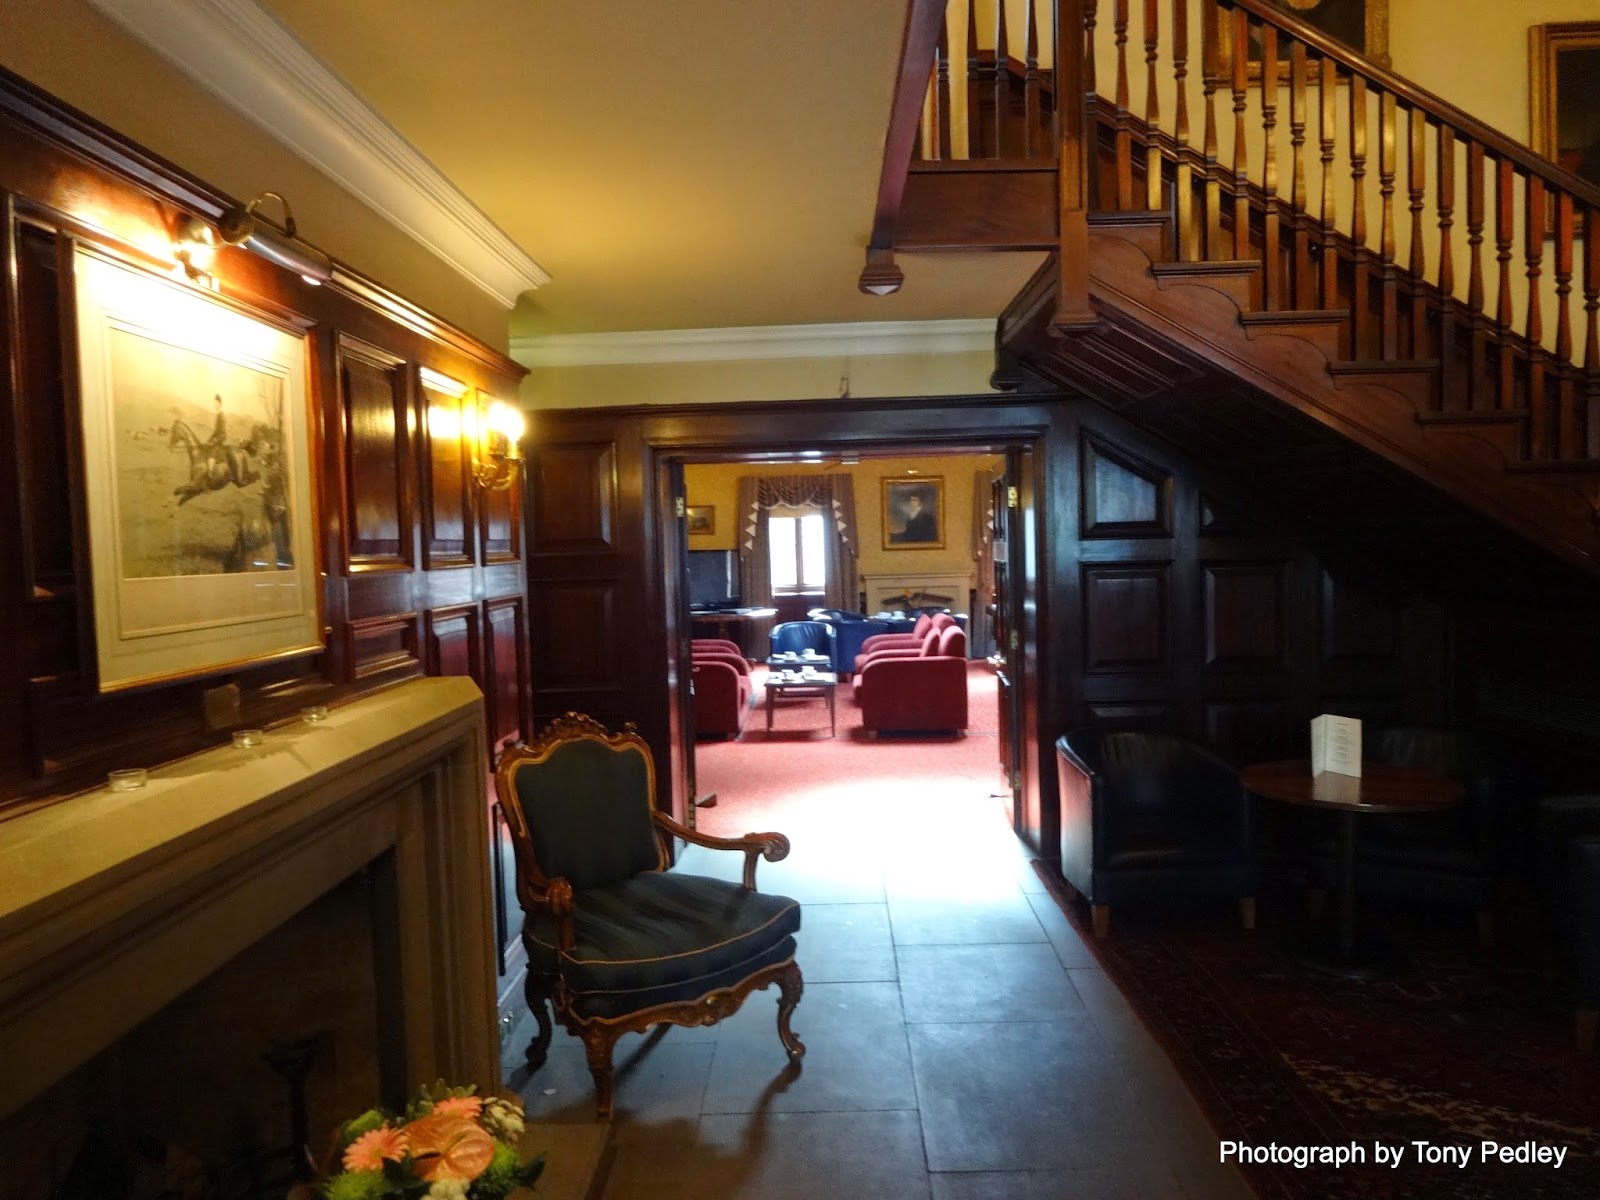
The camera took this at 1/8 sec ISO 800 F3.3

To be fair, the room was very dark (Useful note, if you are looking for a classy  afternoon tea, avoid the Quorn country hotel), but the camera plumped  for a 1/5 shutter speed at 800 ISO(the camera can go to 12800, although whether that is usuable is questionable), meaning many of the photos had blurred people in them. However the image stabilization did a great job, but it could only do so much. I later found other options hidden under the SCN mode which  may of allowed better photos, but it showed the limitations of the automatic nature of point and shoot cameras.
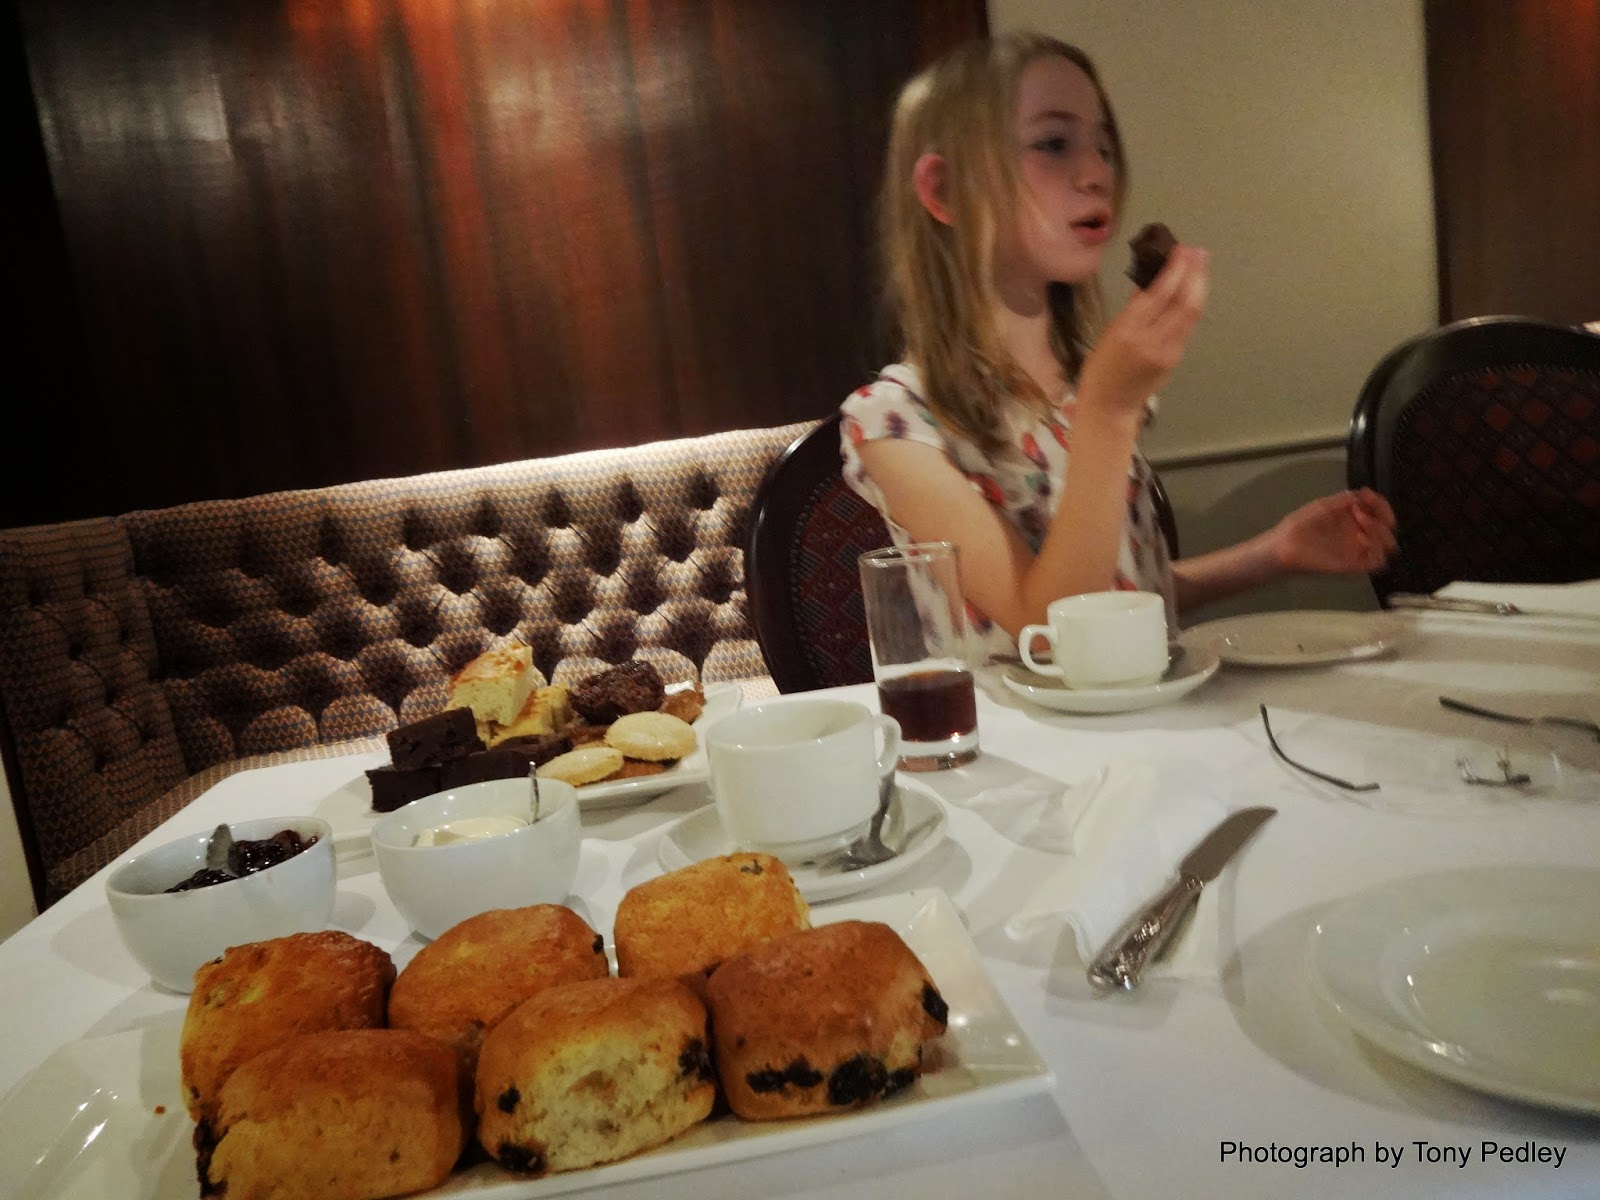
This was taken at 1/25 ISO 800 F3.3. The room was very dark and handheld showing how good the image stabiliser is

A photo taken with flash on

I at one point resorted to using the flash. Now generally I don't like using a flash, but the results were not too bad, with skin tones coming through pretty well. In hindsight however I think I would of tried pushing the ISO up higher using the program mode.

I was however pretty impressed with the white balance accuracy throughout.

Conclusion

The Sony DSCWX200 is much like the rest of the compact breed. It is a competent camera that provides good functionality for a someone who has little interest in the mechanics of photography, but just wants to get a decent photo. However like all such cameras, it's performance is limited by the physics of the lens attached. This is something that no amount of electronic trickery can overcome.

For me, spoiled as I am by the almost infinite control (and associated complication) of a DSLR, it could be frustrating to rely on the camera to get the best shot, but then again I am not the target audience for such cameras and my wife's need for something that just works will no doubt be met by this camera.

However the interesting thing for me is the insight into how camera technology has moved on since I last bought a compact camera and possible ways such cameras may evolve.

It has been said that the compact camera market has been decimated in recent years by mobile phones. There is a lot of truth in this. Why carry a small camera when the one on your phone is always with you and can take comparable photos?

However there are and always will be limitations on mobile phone photography. Not least is the size of the lens that can be attached on a slim object like a mobile.

This is why it is so mystifying why camera makers insist on putting a 20x zoom lens on such a camera, when the maximum aperture and sensor size makes it virtually unusable at the highest resolution. As my search for a camera has shown, it is hard to find a cheap compact that has a fast lens and good low light capability. Clearly part of the problem  is that it is easy to sell a camera to someone based on zoom range rather than the relatively obscure measure of aperture size. The irony is, that these sort of cameras will most likely be used where low light performance is the key requirement, rather on how far it can zoom.

Maybe instead of bemoaning the fact that mobiles are disrupting the camera market, camera manufacturers should be looking at what they can learn from mobile technology. In this respect Sony and Samsung, with there large mobile divisions should be well placed to take advantage of this. One of the most interesting cameras to come out recently is the Samsung Galaxy camera. While the jury is still out on the success of the product, it does perhaps point the way to go.

For starters the mobile generation now expect a large high resolution screen, much in the way that mobiles have. They also expect such screens to be scratch and grease resistant, which is something camera makers have been slow to understand. After all compact cameras are as likely to spend  time cosying up with my car keys as my phone, so I see no reason why the same displays on a mobile are not used on cameras.

In tandem with this, mobile users expect all such screens to be touch enabled. Sony have been surprisingly slow in adding touch to there cameras, compared to say  Panasonic, and while generally I am ambivalent about touch interfcaes, the ability to indicate the focus point on the screen is definitely something I find very useful on a camera.

Over the years my mobile phone has accumulated a  large number of photographic associated apps such as ones to calculate depth of field and the golden hour, and new editing tools. The camera apps themselves have also been updated to add functions such as better bokeh background control.  This ability to extend is a something I miss on a camera, where basically you are stuck with what the manufacturer came up with at the time.

I can see no reason why cameras cannot be built in the same way. All that is needed is for the camera software  API to be opened up to developers and a mechanism to upload to the camera invented. As Samsung has shown, an android OS provides much of this capability already (although I believe that Android provides less control over the camera than say IOS, which is something Google needs to address).

Another interesting feature is the ability to remote control the camera from other devices. This is something I would like on my present DSLR

So do I like the camera?

Actually yes I do. the more I use it, the more i see it's merits. I would certainly not be embarrassed in taking it to situations where my DSLR bulk would be a disadvantage. I also think my wife will get a lot of good shots out of it.

Not that it is going to replace my DSLR. The lack of control and small maximum aperture, means my trusty DSLR will always be my weapon of choice. But at least I now have a something to fallback on.

Best of all,  my wife can now stop complaining about not having anything to take decent photos with.